






Fleck Aparici Thermor Edesa Negarra Thermos Sheath Plate Diameter 183Mm images
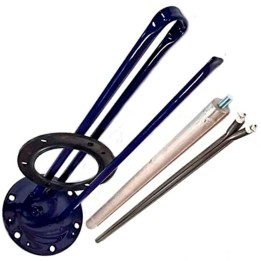
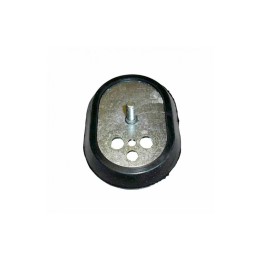
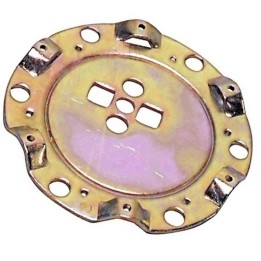
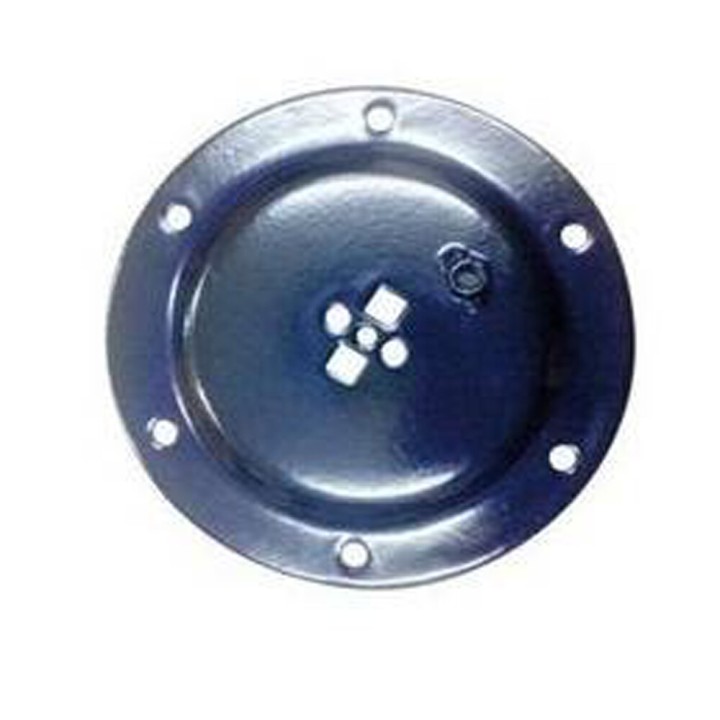
Fleck Aparici Thermor Edesa Negarra Thermos Sheath Plate Diameter 183Mm
PE91105 ✅ The electric water heater is being repaired; when it is running, it trips the residual current circuit breaker because of a water leak.
✅ Because of the fault, the owner of the home had already disconnected the water heater from the mains, so as not to cause other, more serious problems.
✅ Since the residual current circuit breaker trips, I assume there is a leakage to earth.
✅ This may be in the water temperature control thermostat, in the safety thermostat, in the electric heating element, or, in this case, because of a water leak that fills the lower compartment cover with water.
✅ I proceed to carry out the necessary checks. 1.- As the lower cover has a small hole, I look at it, see that water is dripping and that it is also rust-coloured, from which I deduce that there is a leak. 2.- I remove the cover of the compartment housing certain mechanisms of the water heater (heating element, control thermostat and safety thermostat). 3.- Just by removing the cover I see that there is accumulated water.
✅ And where the heating element is housed, the terminals are all rusty.
✅ In addition, water is dripping. 4.- Observing all this, I take it that there is a water leak. 4.1.- The cause of the leak is that the owner has not asked an authorised installer to carry out its maintenance, which is explained in the water heater's instruction manual.
✅ As specified by the manufacturer.
✅ This maintenance should be carried out approximately every 2 years.
✅ It consists of removing limescale deposits from inside the water heater and checking the condition of the magnesium anode (which neutralises limescale).
✅ See image. 5.- Having checked all this, I proceed to repair it, doing the following: 5.1.- I disconnect the cold water supply. 5.2.- I remove the safety valve. 5.3.- I connect a hose for draining it to a small pump so that it empties faster. 5.4.- Once the water heater is drained, I continue. 6.- I remove the nuts of the sheath holder The electric water heater is being repaired; when it is running, it trips the residual current circuit breaker because of a water leak.
✅ Because of the fault, the owner of the home had already disconnected the water heater from the mains, so as not to cause other, more serious problems.
✅ Since the residual current circuit breaker trips, I assume there is a leakage to earth.
✅ This may be in the water temperature control thermostat, in the safety thermostat, in the electric heating element, or, in this case, because of a water leak that fills the lower compartment cover with water.
✅ I proceed to carry out the necessary checks. 1.- As the lower cover has a small hole, I look at it, see that water is dripping and that it is also rust-coloured, from which I deduce that there is a leak. 2.- I remove the cover of the compartment housing certain mechanisms of the water heater (heating element, control thermostat and safety thermostat). 3.- Just by removing the cover I see that there is accumulated water.
✅ And where the heating element is housed, the terminals are all rusty.
✅ In addition, water is dripping. 4.- Observing all this, I take it that there is a water leak. 4.1.- The cause of the leak is that the owner has not asked an authorised installer to carry out its maintenance, which is explained in the water heater's instruction manual.
✅ As specified by the manufacturer.
✅ This maintenance should be carried out approximately every 2 years.
✅ It consists of removing limescale deposits from inside the water heater and checking the condition of the magnesium anode (which neutralises limescale). 5.- Having checked all this, I proceed to repair it, doing the following: 5.1.- I disconnect the cold water supply. 5.2.- I remove the safety valve. 5.3.- I connect a hose for draining it to a small pump so that it empties faster. 5.4.- Once the water heater is drained, I continue. 6.- I remove the nuts of the sheath holder 7.- I clean the water heater of limescale residue, approximately 2kg comes out.
✅ See photo of the sheath holder; what looks white is limescale incrustation. 8.- Once the sheath holder has been removed and cleaned of limescale residue, I continue with fitting the new parts. 8.1.- The new gasket is fitted, to avoid any water leak. 8.2.- The sheath holder is fitted with the rest of the elements (electric heating element, magnesium anode, thermostat) 9.- Once everything needed is in place, the bolts are tightened, following an order opposite to the one tightened first, so that they are all equally tight.
✅ The order is: 1-4, 2-5, 6-3. See photo.
✅ Always tighten the opposite one to the one previously tightened. 10.- Once all this is done, it is filled with water, checking that there is no water leak. 11.- Everything is fine, so 230V power is supplied so that it starts heating the water. 12.- With all this, the repair is considered complete. 7.- I clean the water heater of limescale residue, approximately 2kg comes out.
✅ See photo of the sheath holder; what looks white is limescale incrustation. 8.- Once the sheath holder has been removed and cleaned of limescale residue, I continue with fitting the new parts. 8.1.- The new gasket is fitted, to avoid any water leak. 8.2.- The sheath holder is fitted with the rest of the elements (electric heating element, magnesium anode, thermostat) 9.- Once everything needed is in place, the bolts are tightened, following an order opposite to the one tightened first, so that they are all equally tight.
✅ The order is: 1-4, 2-5, 6-3. See photo.
✅ Always tighten the opposite one to the one previously tightened. 10.- Once all this is done, it is filled with water, checking that there is no water leak. 11.- Everything is fine, so 230V power is supplied so that it starts heating the water. 12.- With all this, the repair is considered complete.
-
Brand

-
ReferencePE91105
PE91105