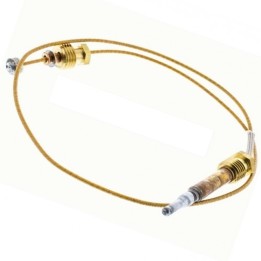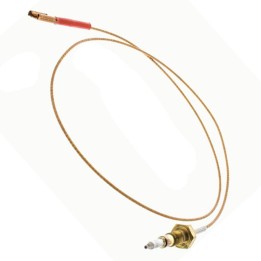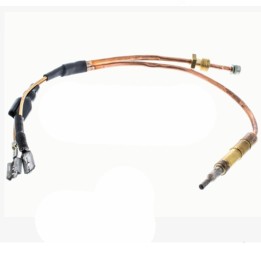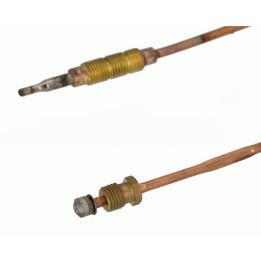







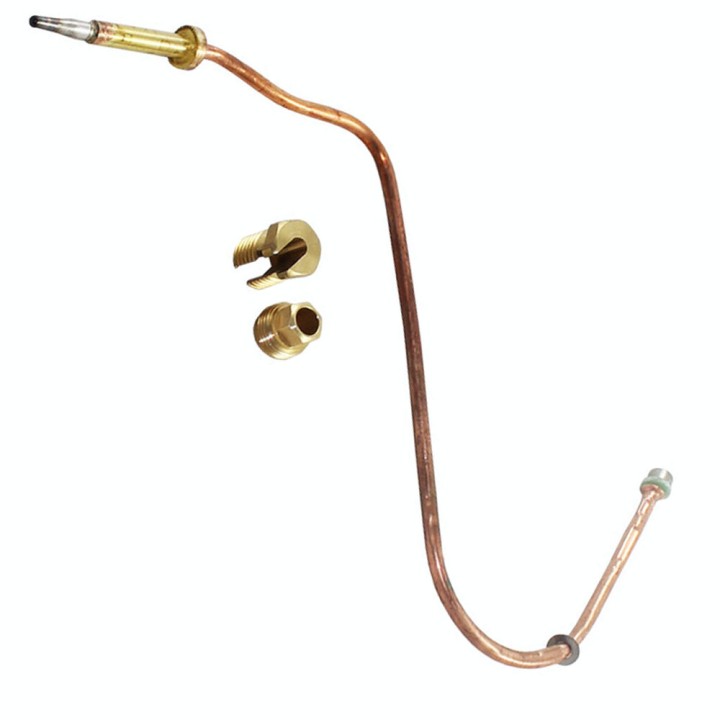
Chaffoteaux Bayard 10,13,16 74154 Boiler Thermocouple images
Chaffoteaux Bayard 10,13,16 74154 Boiler Thermocouple
RE300004000 ✅ WATER HEATER AIR PRESSURE SWITCH Failure of the air differential pressure switch in your gas boiler A problem can arise from the failure of the air differential pressure switch in your gas boiler. What is the air differential pressure switch?
✅ It is a safety element that monitors the operation of the turbine or flue gas extractor towards the exhaust pipe, which only exists in room-sealed boilers of all types, whether basic room-sealed boilers, condensing boilers or low-NOx boilers. It is an element that also exists with the same function in room-sealed water heaters.
✅ Failure of the air differential pressure switch in your gas boiler How does this element work?
✅ When the turbine runs, a pressure difference is created (hence its name) between the pressure to which the combustion chamber of the gas boiler is subjected and the pressure in the exhaust duct.
✅ This pressure difference causes the combustion products to be evacuated.
✅ How the fault is detected.
✅ When operation is normal, the pressure switch detects that there is no pressure difference and informs the control board of the gas boiler, which will immediately stop the boiler burner, signalling the fault, i.e. the boiler is locked out. Solution.
✅ The service technician will check the pressure switch to detect whether it is broken or not using a multimeter to measure the terminals, or even by blowing through the indicated tubes to reset it, all with the boiler completely unplugged. A.2.
✅ Remove the front cover or panel by pushing it upwards while keeping it slightly tilted (pushing the bottom slightly towards you so that the top tilts a little backwards; this panel is held by two tabs that will be shown later). A.3.
✅ This way, the inside of the water heater is exposed. Note: You can see the two tabs (one on each side) where the cover or front panel is held.V B.
✅ The piezoelectric igniter or spark plug B.1.
✅ To remove the piezoelectric igniter or spark plug (white in the example water heater), the first step is to remove the metal clip that holds it B.2.
✅ After removing the metal clip, the piezoelectric ignition system comes loose and we can take it out. B.3.
✅ We turn the piezoelectric igniter to unscrew it from the cable. B.4.
✅ The piezoelectric igniter is now free.
✅ We can go to a plumbing and heating spare parts shop to buy a new piezoelectric igniter (quite cheap).
✅ Note: The piezoelectric igniter is really just a convenience when lighting the flame; it can easily be replaced by a manually operated kitchen lighter or igniter. C.
✅ The jet C.1.
✅ The flame comes out of the metal tube of the pilot burner, which carries the gas from the jet. C.2.
✅ If we follow the metal tube of the pilot burner, we find at its other end the jet, which looks like a screw with a small central hole (copper-coloured in the example water heater).
✅ Interestingly, if we look at it from the side we can see that there is a gap (variable depending on the model, generally between 0.5 and 1 cm) between the end of the tube and the jet. C.3.
✅ To remove the metal tube of the pilot burner, we first take it out of the metal clip that holds it by applying a little force. C.4.
✅ Then we disengage its upper part from the metal bracket that keeps it correctly positioned in the flame chamber (the shape of the metal bracket makes the metal ring of the tube fit in a specific way, ensuring the correct placement of the whole pilot burner tube). C.5.
✅ We remove the metal clip that holds the pilot burner tube, in order to have better access to the jet.
✅ We can now see the jet and its small central hole better. C.6.
✅ We unscrew the jet using a socket wrench (no. 7 in the example) and a small adjustable wrench. C.7.
✅ In the hand we can better appreciate the small central hole of the jet. C.8.
✅ The hole of the jet is smaller than the diameter of a needle, so we must avoid using a needle, a fine wire or another similar object to try to clean it because we would enlarge the hole, causing excessive gas output.
✅ The best option to clean it is to put it under the pressurised jet of a tap, leaving it under the water for one minute and then turning the jet over so that the water also hits the opposite side or end, to ensure a better cleaning of the hole.
✅ We take the opportunity to also clean the metal tube of the pilot burner by likewise putting it under the pressurised jet of a tap, leaving it under the water for one minute and then turning it over so that the water also hits it from the opposite direction, to ensure a better cleaning.
✅ It is recommended not to use a cotton swab or similar for internal cleaning because it may leave fibre residues. C.8.
✅ We must remove the water well from the jet and the metal tube of the pilot burner before refitting them; to do so we will shake them to remove the water inside and leave them to dry for a while (we can put them in the sun or near a heat source as long as we make sure it does not reach a high temperature).
✅ We will not use any paper or cloth to dry them because it could leave fibre residues.
✅ Reassembly Reassembly simply consists of reversing the steps described.
✅ Once assembled, to test it is important to set the regulator wheel or knob to maximum (after checking that everything works well, it can then be lowered).
✅ Important: make sure the butane cylinder has gas.
✅ If the flame is strong and not weak, but goes out just at the moment of switching from the ignition position (usually by pressing the flame regulator inwards) to the position that supplies hot water, then it is not a problem of a dirty jet but rather one of the safety mechanisms is failing, such as the thermocouple (marked with a red circle in the following photo, and which must touch the flame).
-
Brand

-
ReferenceRE300004000
RE300004000